Hi there! I’m Mykola, and at GoShineUp we clean kitchens across Waterford, Pontiac, West Bloomfield, and Oakland County every single day. Microwaves? We’ve seen everything — from fresh tomato sauce splatters to something that looks like it’s been baked on since 2019.Here’s what I’ve learned: most people make microwave cleaning harder than it needs to be. You don’t need special products, you don’t need to scrub until your arm gives out, and you definitely don’t need to live with that burnt smell anymore.
The secret is steam. Ten minutes of prep, five minutes of wiping. Done. Let me show you exactly how we do it. Whether you want to do it yourself or you’re curious what a professional cleaning service actually does — you’re in the right place.
Why Your Microwave Gets So Gross (And Why It Matters)
Before we get into the methods, let’s be real about why a dirty microwave is actually a problem — not just an eyesore.
Every time food splatters inside and you don’t wipe it, that residue gets reheated the next time you use the microwave. It bakes on harder. It creates odors. And it can actually affect how evenly your food heats — built-up grease on the walls absorbs microwave energy that should be going into your food.
Plus, if you’ve ever reheated something and noticed a weird smell or taste? Nine times out of ten, it’s coming from the walls of the microwave, not the food itself.
So yes — a clean microwave matters for your kitchen hygiene, your appliance’s performance, and honestly, the taste of your food.
What You’ll Need
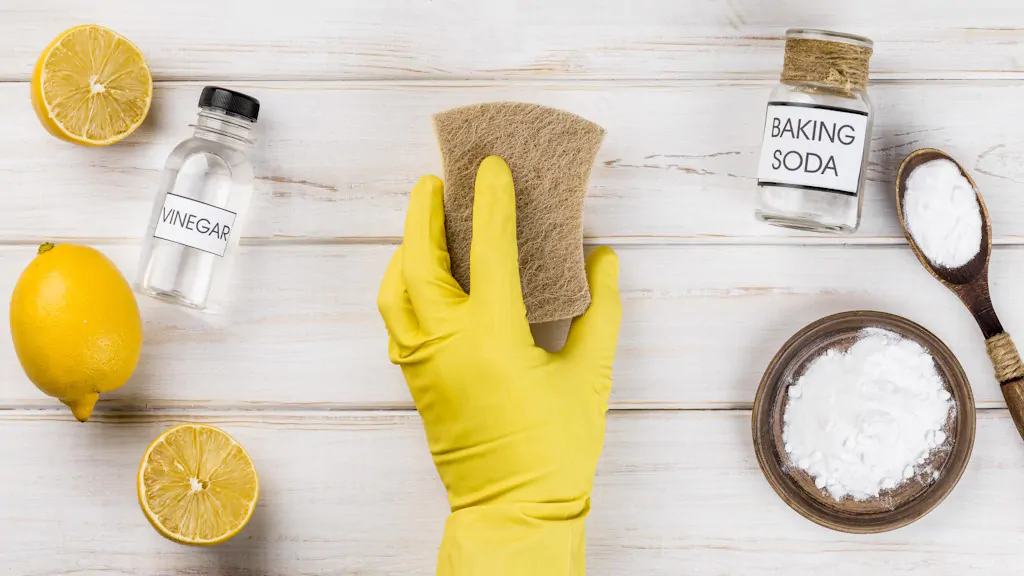
The good news: you probably already have everything.
For the steam method (our go-to):
- Microwave-safe bowl (glass or ceramic)
- White vinegar OR fresh lemon (half is enough)
- Water
- Microfiber cloth or soft sponge
- Dish soap (just a few drops)
For stubborn grease or burnt-on stains:
- Baking soda
- Dish soap
- Old toothbrush or small scrub brush
What NOT to use:
Paper towels with lint — they leave fibers everywhere inside
Steel wool or abrasive scrubbers — they scratch the interior coating
Bleach or harsh chemical sprays — dangerous near food surfaces and heating elements
Method 1: Steam Clean with Vinegar (Best for Weekly Maintenance)
This is the method our team uses almost every time. It’s fast, effective, and uses nothing but white vinegar and water.
Step 1: Pour 1 cup of water and 1 cup of white vinegar into a microwave-safe bowl.
Step 2: Place the bowl in the microwave and heat on HIGH for 3–5 minutes, until the mixture boils and the interior is fully steamed up.
Step 3: Do NOT open the door immediately. Let the steam sit inside for another 5 minutes. This is the step most people skip — and it makes all the difference. The steam loosens everything.
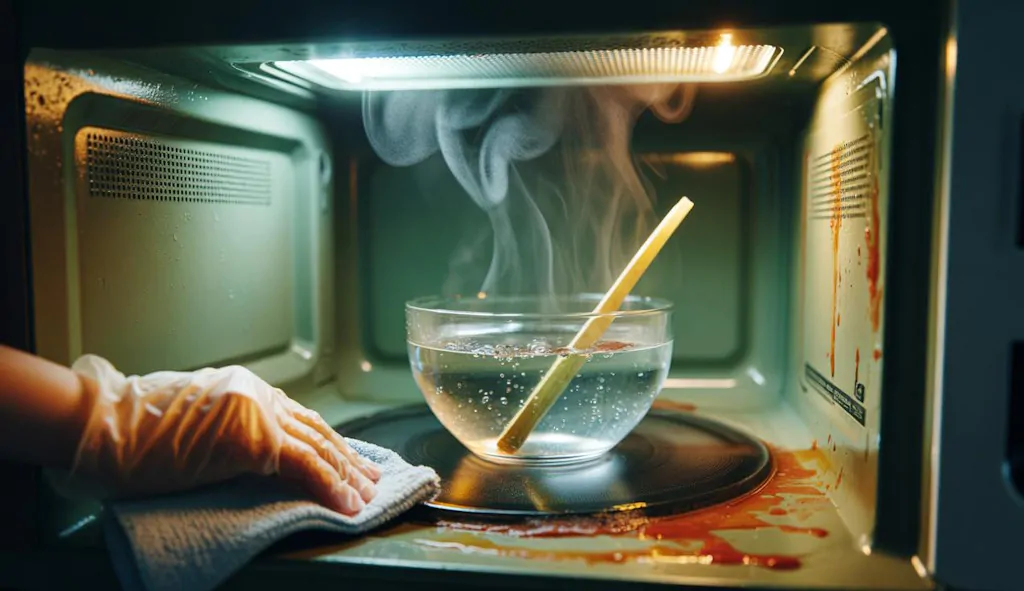
Step 4: Carefully remove the bowl (it will be hot — use oven mitts or a towel). Wipe down the ceiling, walls, and floor of the microwave with a damp microfiber cloth. The grime should come off with almost no pressure.
Step 5: Remove the turntable and wipe underneath it. Then clean the turntable separately in the sink with warm soapy water.
Why vinegar works: The acetic acid in white vinegar breaks down grease and loosens baked-on food particles. The steam does the physical work of softening everything so you don’t have to scrub.
Tip from our team: Add a few drops of essential oil (lemon or lavender) to the vinegar-water mix if you don’t love the vinegar smell. It dissipates quickly anyway, but the oil makes the process more pleasant.
Method 2: Steam Clean with Lemon (Best for Odor Removal)
If your microwave has a lingering burnt smell — popcorn, fish, last Tuesday’s leftovers — lemon is your answer. Same concept as vinegar, but with natural deodorizing power.
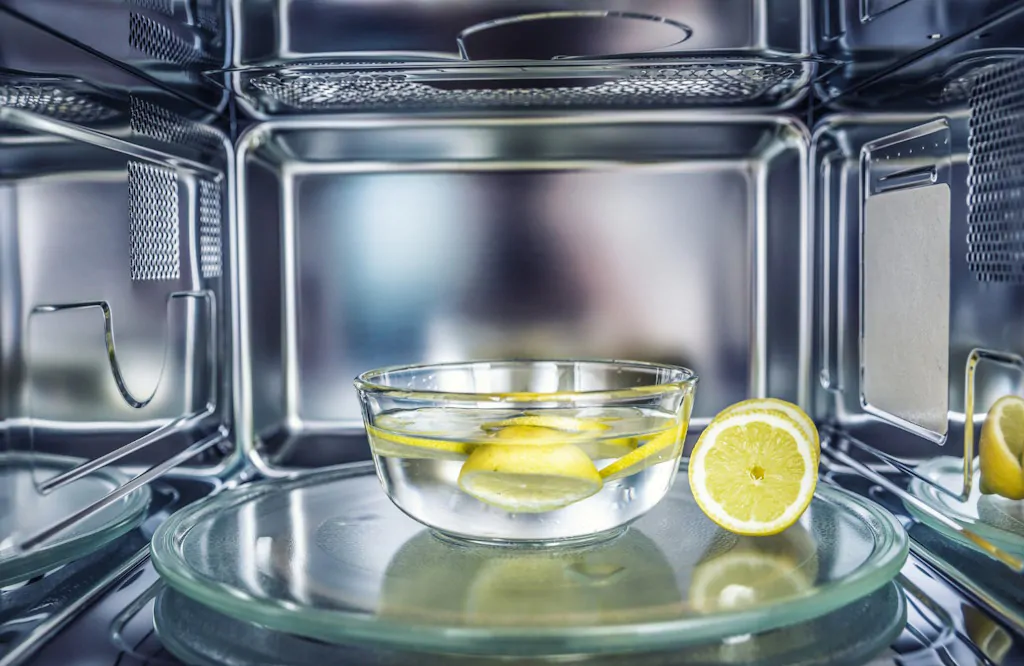
Step 1: Fill a microwave-safe bowl with 1 cup of water. Squeeze in the juice of half a lemon and drop the lemon half into the bowl.
Step 2: Microwave on HIGH for 3–4 minutes until fully steaming.
Step 3: Leave the door closed for 5 minutes.
Step 4: Remove bowl carefully, wipe down all interior surfaces with a microfiber cloth.
The citric acid in lemon works just like vinegar to cut through grease, but the natural lemon oils neutralize odors at the same time. Your microwave will smell genuinely clean — not just “less bad.”
Method 3: Baking Soda Paste (Best for Stubborn Burnt-On Stains)
Some stains don’t respond to steam alone — especially if something boiled over and baked on through multiple reheating cycles. For those, baking soda paste is the move.
Make the paste: Mix 2 tablespoons of baking soda with just enough dish soap and water to form a thick paste — consistency of toothpaste.
Apply it: Spread the paste directly onto the stained areas. Let it sit for 10 minutes.
Scrub gently: Use a soft sponge or old toothbrush to work the paste into the stain using circular motions. The mild abrasiveness of baking soda lifts residue without scratching the surface.
Wipe clean: Remove with a damp microfiber cloth, then wipe again with clean water to remove any paste residue.
Important: After using baking soda, always do a final wipe with a clean damp cloth. Leftover baking soda residue can cause a white film if it dries.
How to Clean the Microwave Door Glass (Inside and Outside)
The door glass gets overlooked but it’s one of the most visible parts — and one of the grimiest.
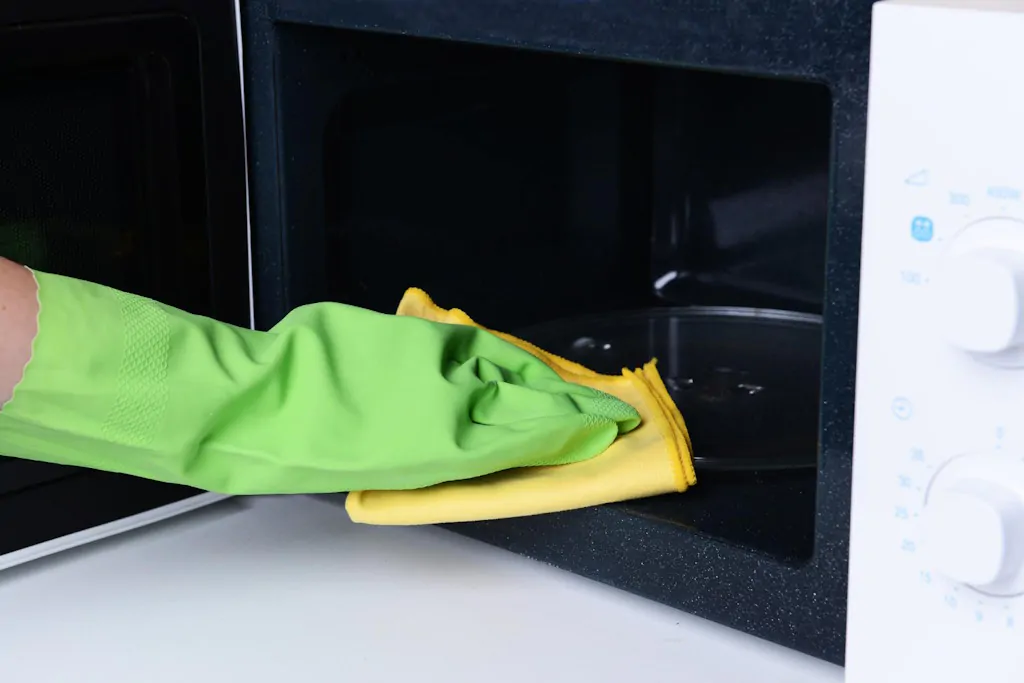
Inside of the door: Use your vinegar steam method first. If splatters remain, apply a small amount of dish soap to a damp cloth and wipe in circular motions. Rinse with a clean damp cloth.
Between the door glass panels: Some microwaves have two layers of glass with a gap between them. If you see grime in there, it usually got in through the ventilation slots. This is a manufacturer-specific repair situation — don’t try to pry the door apart. Contact the brand’s service center.
Outside of the door: Wipe with a damp microfiber cloth and a few drops of dish soap. For stainless steel exteriors, always wipe in the direction of the grain to avoid streaking.
The door seal (gasket): This rubber strip around the door edge collects crumbs and grease but almost nobody cleans it. Use a damp cloth or an old toothbrush with a little dish soap. A dirty gasket can affect the door seal — and a compromised seal is a microwave safety issue.
How to Clean the Microwave Turntable
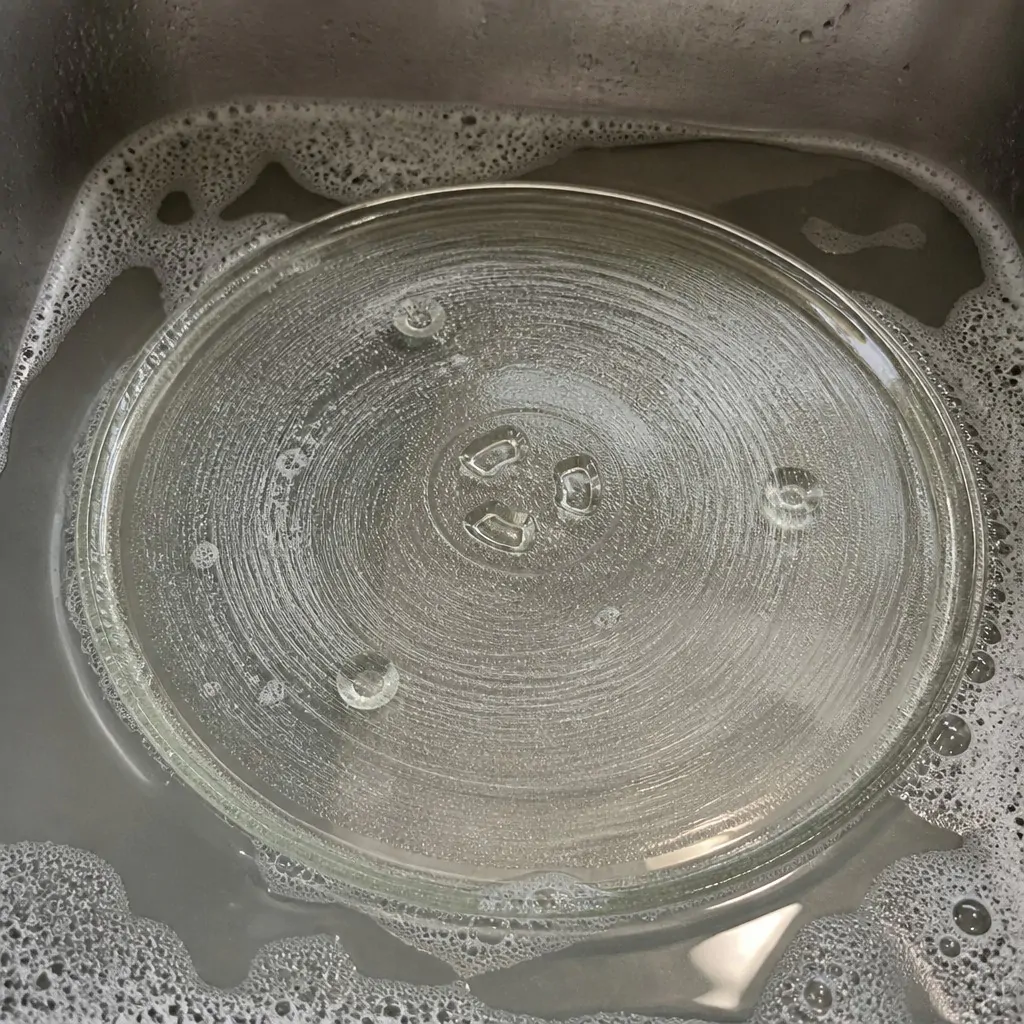
The turntable is the most food-exposed part of your microwave and the easiest to clean properly — because you can take it out.
Remove it carefully and let it cool completely if the microwave was recently used. Hot glass + cold water = cracked glass.
Option A — Sink wash: Wash with warm soapy water and a non-abrasive sponge. Rinse and dry thoroughly before replacing.
Option B — Dishwasher: Most glass turntables are dishwasher-safe. Check your microwave manual to confirm. Top rack only.
The roller ring underneath: Remove this plastic ring and wash it by hand with soapy water. Grease and debris collect here and cause the turntable to rotate unevenly or make grinding sounds.
Stubborn stains on the turntable: Soak it in a mixture of warm water and dish soap for 10–15 minutes, then scrub gently.
How to Get Rid of Burnt Smell in Microwave
This is one of the most-asked questions we get. Someone popped popcorn too long, or something boiled over and burned — and now every time you use the microwave, the smell comes back.
Here’s the multi-step fix:
Step 1 — Deep steam with lemon: Run Method 2 (lemon steam) twice back to back. Let it steam 5 minutes each time.
Step 2 — Activated charcoal trick: After cleaning, place a small bowl of baking soda OR activated charcoal inside the closed microwave overnight. Both absorb odors passively.
Step 3 — Coffee grounds: A small bowl of dry coffee grounds left overnight also works well for absorbing stubborn smells.
Step 4 — Check the interior coating: If the smell persists after all of this, the interior coating may be damaged (chipped or burned). Once the coating is compromised, the smell is almost impossible to fully eliminate. At that point, the microwave should be replaced — a damaged interior coating is also a safety concern.
Microwave Cleaning Mistakes to Avoid
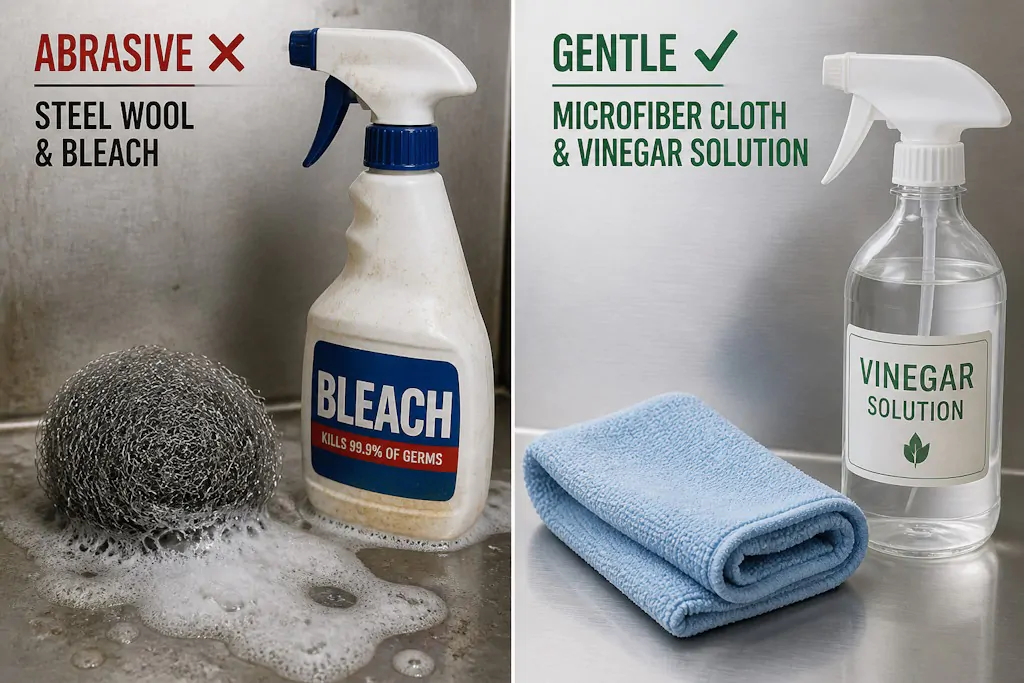
Using abrasive scrubbers: Steel wool and rough scrub pads scratch the interior coating. Once scratched, that coating can flake and contaminate food — and the scratches trap more grease going forward.
Spraying cleaner directly inside: Always apply cleaner to a cloth first, then wipe. Spraying directly risks liquid getting into the ventilation slots and electrical components.
Not letting steam sit: Running the steam cycle and immediately opening the door wastes most of the benefit. The 5-minute rest is what actually softens the residue.
Cleaning while it’s still hot: Always let the microwave cool after use before cleaning. Steam burns are real, and a hot interior makes products less effective.
Forgetting the door seal: As mentioned — the gasket around the door needs regular attention. It’s a hygiene issue and a safety issue.
How Often Should You Clean Your Microwave?
| Cleaning Type | Frequency |
|---|---|
| Quick wipe after splatters | Immediately / same day |
| Full interior wipe-down | Once a week |
| Deep steam clean | Every 2–4 weeks |
| Turntable wash | Every 1–2 weeks |
| Door seal cleaning | Once a month |
| Full exterior wipe | Once a week |
If you use your microwave daily (reheating coffee, leftovers, defrosting), lean toward the more frequent end of each range. For Oakland County homes with hard water, mineral deposits build up faster on the turntable and interior surfaces — monthly deep cleaning is worth it.
Pro Tip: The Microwave Cover
One thing that eliminates 80% of microwave cleaning? A microwave food cover. A simple vented splatter guard (around $5–10 at any Walmart or Target) goes over your food while it heats. It traps splatters before they hit the walls.
We recommend it to every client. It’s one of those tiny habits that saves real time every week.
Looking to deep clean the rest of your bathroom too? Check our guide on how to deep clean a bathroom for the full room-by-room process.
Too Busy to Clean the Kitchen Yourself?
A clean microwave is just one part of a truly clean kitchen. If you’re keeping up with day-to-day life in Waterford, West Bloomfield, or Pontiac — between work, kids, and everything else — the kitchen is usually the first thing to fall behind.
That’s exactly what GoShineUp is here for.
Our team handles full kitchen cleaning as part of every regular cleaning and deep cleaning visit — including appliance exteriors, stovetop, microwave, and all the surfaces that get overlooked in a quick weekend clean. Whether you want a one-time deep clean or a recurring schedule, we’ve got Oakland County covered.
FAQs: Cleaning a Microwave Inside
GoShineUp Cleaning LLC — Serving Waterford Township, Pontiac, White Lake, West Bloomfield, and all of Oakland County, MI. Licensed • Insured • Family-Owned